Table of Contents
Welcome to the wonderful world of nail art! This guide is your one-stop shop for everything you need to transform your fingertips into mini masterpieces. From essential tools and beginner-friendly techniques to trendy designs and pro tips, we’ll cover it all. So, grab your favorite polish, settle in, and get ready to unleash your inner nail artist!
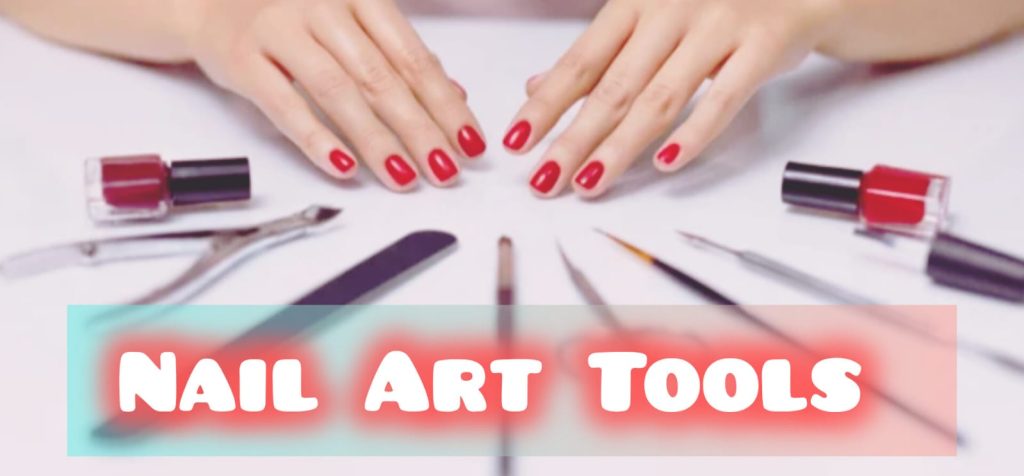
The Essentials Tools:
Before we dive into dazzling designs, let’s gather the tools you’ll need. Here’s your nail art arsenal:
- Base Coat: This protects your natural nails from staining and helps the polish adhere better.
- Nail Polishes: Stock up on a variety of colors – classics for everyday wear, brights for a pop of fun, and metallics for a touch of glamour. Don’t forget a good quality white polish for French manicures or base work.
- Top Coat: Seals your design, adds shine, and prevents chipping.
- Nail Art Tools (Optional): Dotting tools for creating small dots, striping brushes for fine lines, detail brushes for intricate designs, and nail art stamps for quick, repetitive patterns.
- Nail Polish Remover: Accidents happen! Choose an acetone-free remover to be gentler on your nails.
- Quick-drying options: Let’s face it, waiting for the polish to dry is no fun! Consider using a quick-drying top coat or a nail-drying lamp (especially for intricate designs).
Prepping Your Canvas:
Now that you have your tools, let’s prep your nails for a flawless canvas:
1. Remove old polish: Start with clean, bare nails.
2. Shape your nails: Use nail clippers and a nail file to achieve your desired shape – square, round, oval, or stiletto.
3. Gently buff: Use a nail buffer to smooth out any ridges and create a better surface for polish adhesion. Be gentle to avoid damaging your nails.
4. Push back cuticles: Use a cuticle pusher (or an orangewood stick) to gently push back your cuticles for a more polished look. Apply cuticle oil to keep them moisturized.
5. Cleanse with nail polish remover: Wipe your nails with non-oily nail polish remover to remove any oils or residue that might prevent the polish from adhering.
Beginner-Friendly Techniques:
Ready to unleash your creativity? Here are some easy nail art techniques to get you started:
- Solid colors: A classic and always chic choice. Apply two thin coats of your chosen color for a smooth, opaque finish.
- French Manicure: This timeless design creates the illusion of longer nails. Apply a base coat, followed by a thin line of white polish along the tips, and finish with a clear top coat. You can experiment with colored tips for a modern twist.
- Half-moon Manicure: Similar to the French manicure, but with a crescent moon shape painted at the base of the nail in a contrasting color.
- Ombre Nails: Create a gradual blend of two (or more) colors for a soft and sophisticated look. Apply a base coat, then sponge on the colors in a gradient, blending them seamlessly. Finish with a top coat.
- Dots and Stripes: Use a dotting tool or a toothpick dipped in polish to create playful polka dots. For stripes, use striping tape or a thin brush.
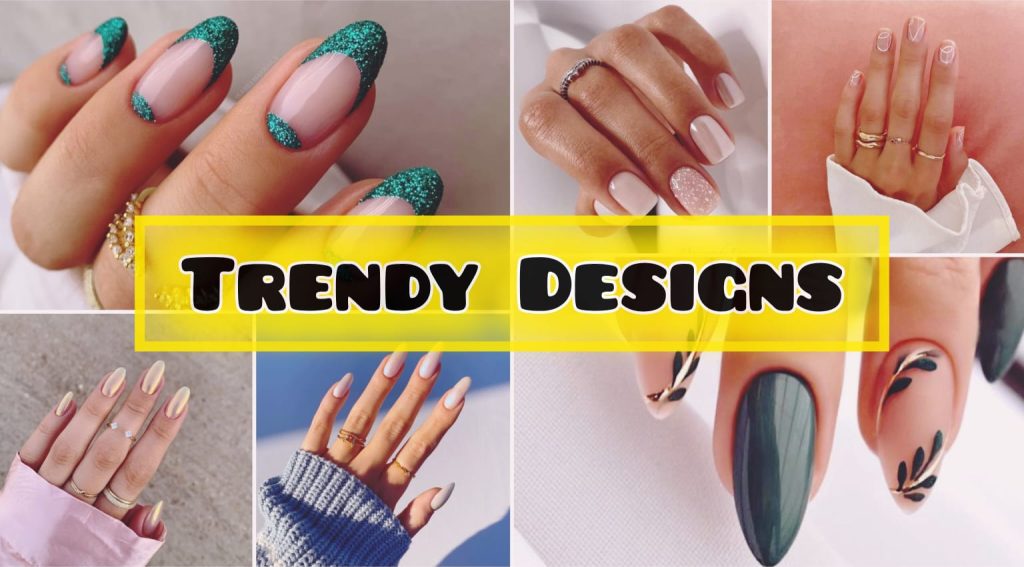
Trendy Nail Art Designs:
Feeling a bit more adventurous? Explore these trendy nail art designs:
- Geometric Nails: Create bold geometric patterns using striping tape or a thin brush. Play with lines, triangles, squares, and chevrons for a modern look.
- Water Marbling: This technique creates a mesmerizing, swirling effect. Drip different colored polishes onto water, then gently dip your finger in to transfer the design.
- Animal Prints: Zebra stripes, leopard spots, or cow prints – unleash your inner wild child with these fun prints. Use stencils or freehand techniques.
- Galaxy Nails: Create a starry night sky on your fingertips with black polish, glitter polishes, and a dotting tool.
- Floral Nails: Delicate flower designs are perfect for spring and summer. Use nail art stamps, stencils, or a thin brush for intricate designs.
Pro Tips and Tricks:
Take your nail art game to the next level with these pro tips:
Thin coats are key: Apply thin coats of polish for a smooth, even finish. It’s better to apply multiple thin coats than one thick, gloopy coat that will take forever to dry and is prone to chipping.
Clean-Up Mistakes: Use a cotton swab dipped in acetone-free nail polish remover to clean up any polish spills around your nails. Do this while the polish is still wet for easier removal.
Dry Time is Crucial: Patience is key! Don’t rush the drying process. Use a quick-drying top coat or a nail-drying lamp to speed things up, but avoid touching your nails until dehydrated.
Storage Matters: Store your nail polishes in a cool, dark place to prevent them from thickening or drying out.
Practice Makes Perfect: Don’t get discouraged if your first attempt isn’t salon-quality. Nail art takes practice! The more you experiment, the better you’ll become.
Be Creative: Be bold and experiment with different colors, techniques, and combinations. There are no hard and fast rules in nail art – have fun and express your unique style!
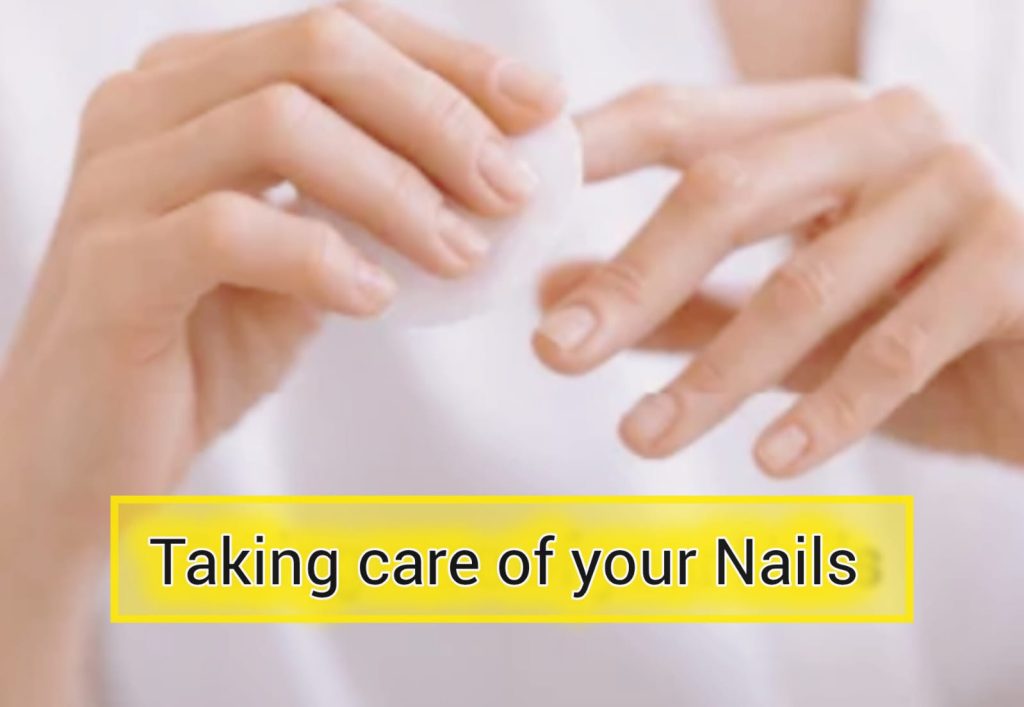
Taking Care of Your Nails:
Maintaining healthy nails is essential for beautiful nail art. Here are some aftercare tips:
Moisturize: Regularly apply hand cream and cuticle oil to keep your nails and cuticles hydrated and prevent dryness and cracking.
Wear Gloves: Protect your nails from harsh chemicals and cleaning products by wearing gloves when doing chores.
Take Breaks: Give your nails a break from polish every few weeks to allow them to breathe.
Healthy Diet: Maintaining a healthy diet rich in vitamins and minerals can contribute to healthy nail growth.
Inspiration and Resources:
Feeling inspired? Here are some resources to keep your creative juices flowing:
- Nail Art Blogs and Websites: Explore online resources dedicated to nail art for design inspiration, tutorials, and product recommendations.
- Social Media: Follow nail artists and brands on social media platforms like Instagram and Pinterest for endless nail art ideas.
- Magazines: Flip through fashion and beauty magazines for the latest nail art trends.
Conclusion:
Nail art is a journey of creativity and self-expression. With the right tools, techniques, and inspiration, you can transform your fingertips into mini masterpieces. So grab your favourite polishes, let your creativity flow, and have fun creating beautiful nail art that reflects your unique style!
FAQS:
What is a base coat?
A clear polish is applied before nail art to protect the nail and promote adhesion.
How do I create a simple nail art design?
Use nail polish and a nail art brush to paint stripes or dots.
How long does nail art last?
Depending on the type, nail art can last from a few days to several weeks.
How do I choose a nail art design?
Consider your personal style, nail shape, and occasion.
How do I care for my nails after nail art?
Avoid harsh chemicals and use a nail strengthener.